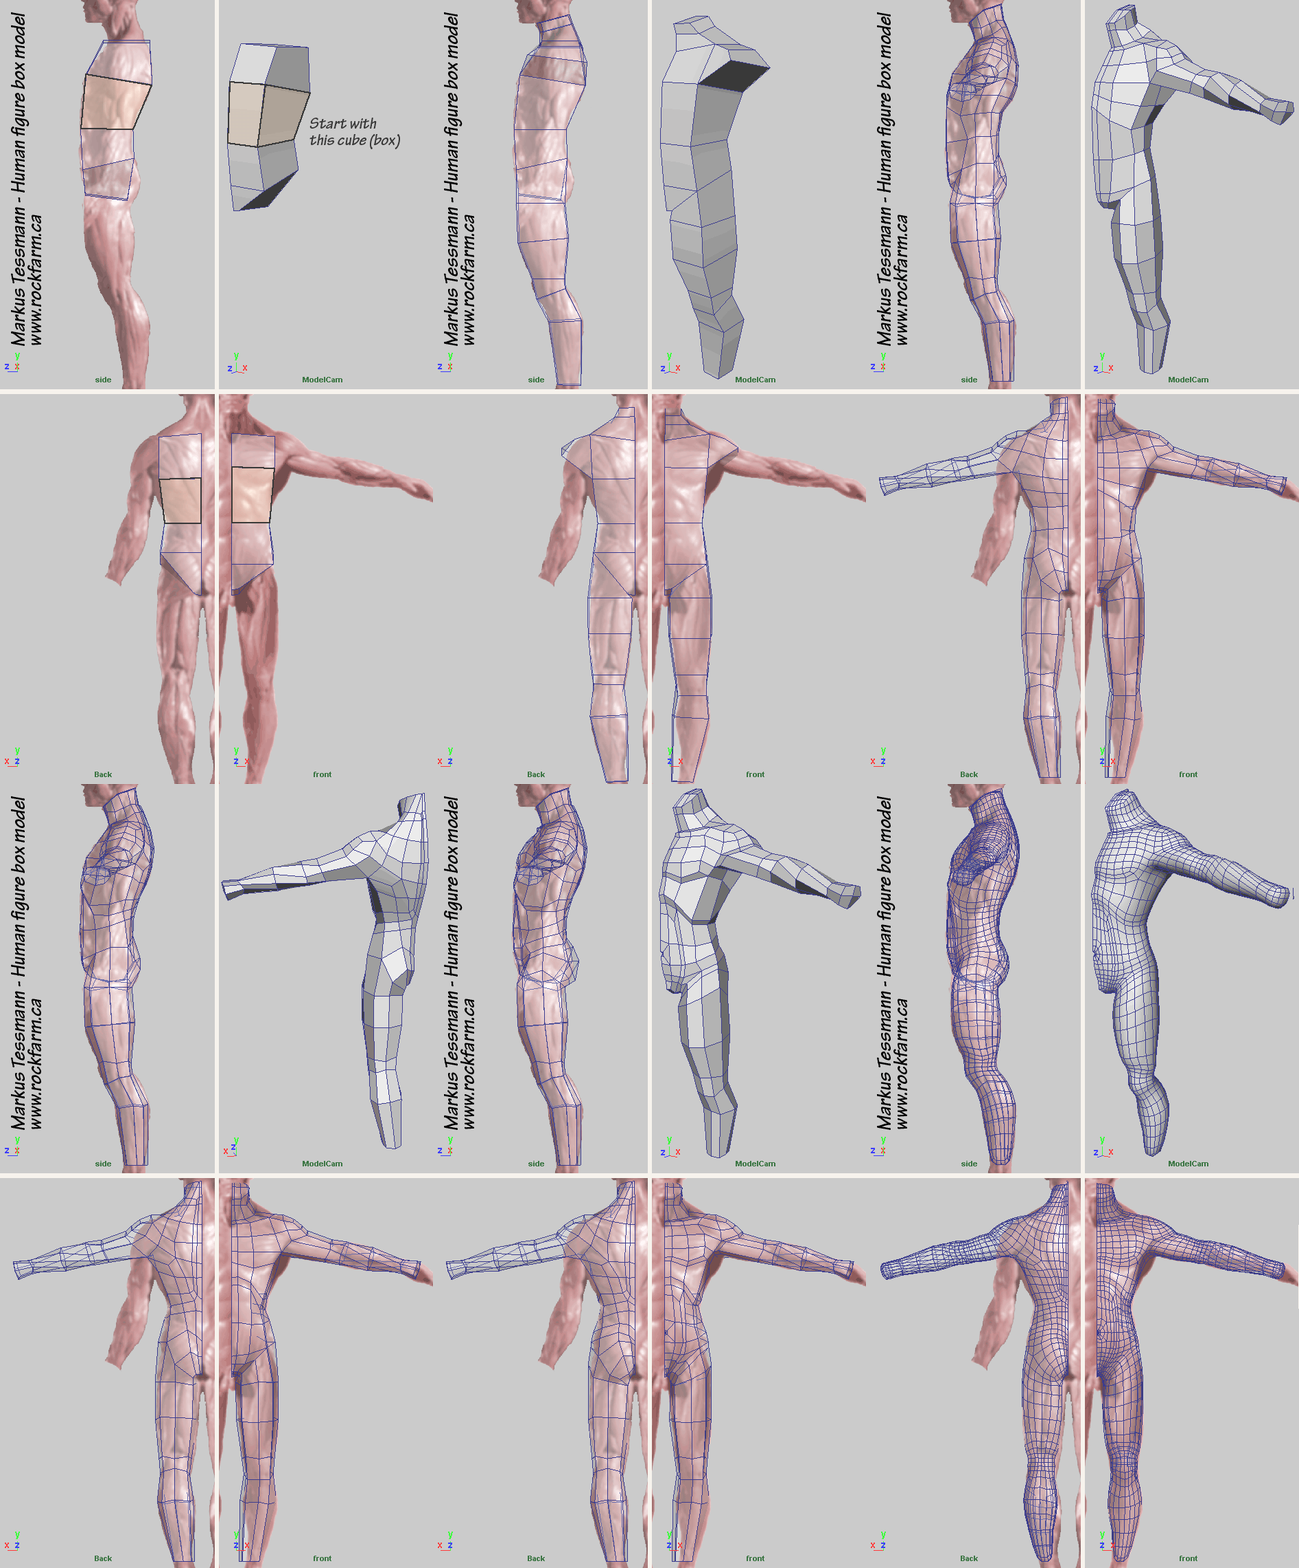
The steps shown in the animation on the left are each described below.
This tutorial uses a technique called The Box Extrude where you repeatedly select a face of the model under development and extrude it (creating the box). Then drag around the 4 new vertices created by the extrusion until they better match the shape of your reference. Continue extruding and sculpting faces as shown in the steps below.
One of the benefits of Box Modelling is that quads are created, rather than triangles. Maintaining quads is important for smoothing the final model.
Successful results depend on having good reference!
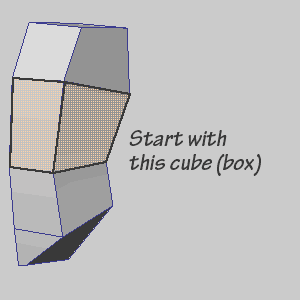
Start with a Cube
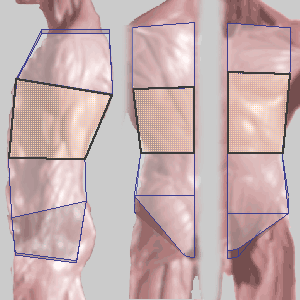
Align it with your reference as shown on the left (the orange rectangle) and drag the vertices around until you've captured the shape at that location.
Although the reference image isn't shown in the steps below (for clarity) it is critical that you constantly use your reference images as a guide when sculpting.
This image also shows a step beyond the first cube which will be described next.
From the top quad of your starting cube, Box Extrude up.
From the bottom face of your starting cube, repeat the Box Extrude downwards twice.
Each time, sculpt the new vertices before doing another extrusion. Note that on the lowest box, the vertices of the bottom face have been modified to form a narrow quad at the bottom and a longer diagonal face at the side.
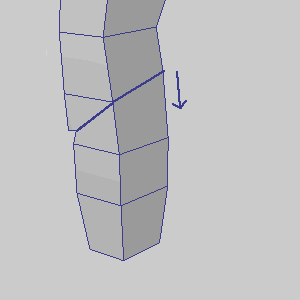
To create the leg, start with the larger diagonal quad at the pelvis and Box Extrude downwards, shaping vertices to form the thigh.
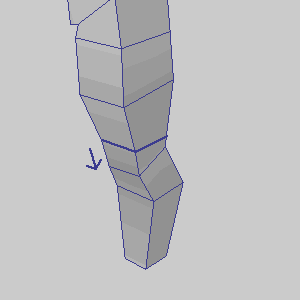
At the knee, create a smaller box to capture the higher level of detail in that area. Continue Box Extruding down to the ankle as shown.
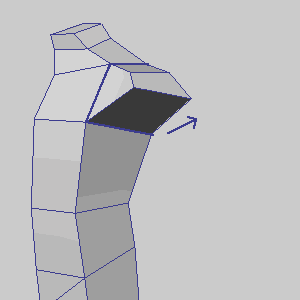
After Box Extruding the shoulder out of the torso box, sculpt the new vertices to sit high on the shoulder as shown to form the deltoid muscle.
The arm will be extruded from the bottom facing quad of the shoulder.
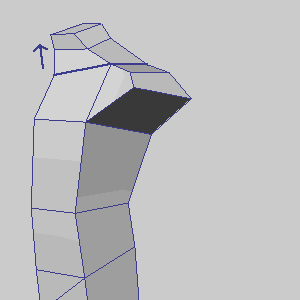
The neck is an easy two Box Extrudes up, shaping as you go.
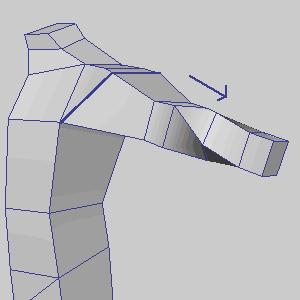
Continue the arm as shown, working from the bottom face of the first shoulder extrude.
The twist introduced at the forearm is to accommodate a hand facing down.
A downward facing hand is preferred for rigging as it allows the wrist to rotate through all its extremes with the least distortion to the model.
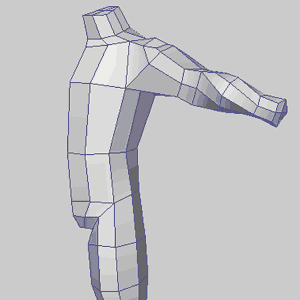
To create a more rounded form to the box-model, add edge loops vertically as shown. Sculpt the new vertices to continue matching your reference and refine the volume defined by your shape.
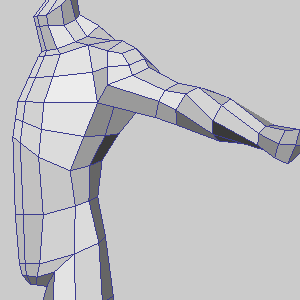
Working on the torso, add edge loops and position vertices to capture the essential elements of the figure.
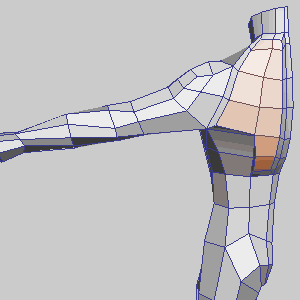
On the back of the figure, select and slightly extrude (as shown) the 10 faces that make up the upper back. This will create a narrow strip of quads that can be shaped to capture the diagonal trapezius muscle.
Note the edge loop added right along the spine to add definition.
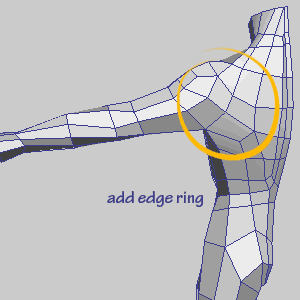
To improve edge flow, flip edges between quads and/or redraw edges as necessary (as highlighted on the back of the shoulder in this step).
Add an edge ring at the waist for shape.
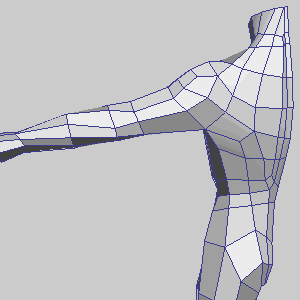
Sculpt the vertices on the back to match the flow of the muscles.
When the figure twists and bends, the edge loops must conform to natural lines of the body so that it deforms correctly.
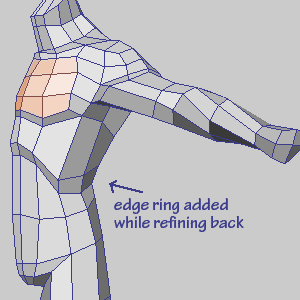
For the pectoral muscles, extrude the 9 highlighted faces as has been done here. This adds an edge ring all around the breast and can be sculpted into the form shown here. Once again, flipping and redrawing edges is required.
Use the edge ring added earlier (or add one now) to form the ridge of the bottom of the rib cage.
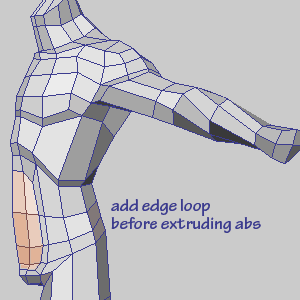
Add an edge loop at the waist for definition.
To create abdominal muscles, extrude the 6 faces at the stomach (highlighted) and sculpt to create the "6-pack"
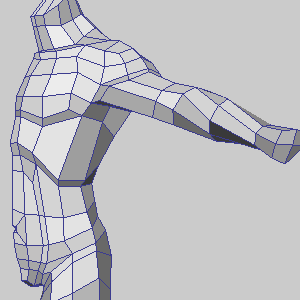
Extrude the quad at the middle of the abdomen inward, to define the belly button.
Rework the edge loops leading to the groin and add an edge ring at the hip to help define the top of the thigh muscle.
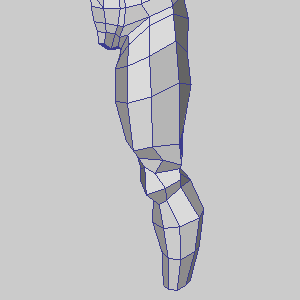
Add edge loops and redraw edges as required to define the knee and shape the leg.
Follow your reference closely and note that the leg is anything but a simple tube or a pillar!
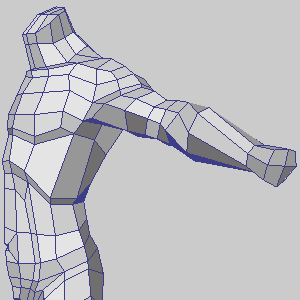
Add edge loops and flip edges to define the elbow and shape the arm as required.
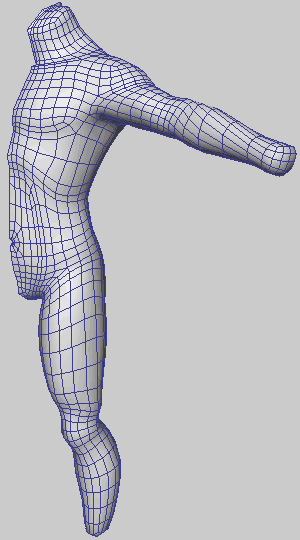
As you approach the finishing of the model (they're never finished!) smooth often to see how your work will look in final form.